In the previous post, I covered how I got the MVP up and running. Now it was time to iterate. I tested a few other simple games that use the same hardware setup as Super Mario Bros., and they seemed to work just fine (or at least they looked fine to the naked eye).
Still, an NES emulator doesn’t feel quite right without sound effects, iconic soundtracks, and, most importantly, a gamepad. Playing Mario with a keyboard can only take you so far.
So the next natural step was to add gamepad support and a basic audio player.
Audio Player: OpenAL Link to heading
Sound on the NES is generated by the Audio Processing Unit. Unlike modern systems, it doesn’t play a collection of high-quality audio files. Instead, it generates sounds in real time using five channels: two pulse-wave channels, one triangle-wave channel, one noise channel, and one sample channel called the DMC. Together, these five fairly simple voices are responsible for everything from Mario’s jump to one of the most recognisable soundtracks in gaming history.
Implementing every APU feature accurately would have been overkill at this stage: Kassette is still more of a proof of concept than an actual product. The scope remained the same: provide enough compatibility to run Super Mario Bros. It didn’t have to sound perfect, but it needed to be good enough to play the game.
Conveniently, LWJGL comes with an optional binding for the OpenAL audio library. I fired up ChatGPT and started discussing the smallest possible implementation that could get some sounds playing. Once we had settled on an approach, I asked it to summarise our conversation as a set of requirements for Codex.
A few minutes later, I had generated code and a game that made noise and some of those noises were even correct! I could definitely hear that a few sound effects weren’t quite right, but remember: the goal wasn’t perfect audio emulation. The goal was more of a working proof of concept.
USB Gamepad: GLFW Link to heading
I own a few controllers, but for this proof of concept I decided to support the Xbox 360 controller first, mostly because it was the first one I found in a drawer. Sometimes technical choices are made after weeks of careful research, sometimes they are made by opening the nearest drawer.
LWJGL also comes with bindings for GLFW. Besides creating a window and providing a surface to draw onto, GLFW can collect input from the keyboard, mouse, and gamepads.
That meant everything I needed was available through the same ecosystem: audio, video, input, and window management. For now, that was the entire shopping list. Smooth sailing.
Can I Develop It Any Further? Link to heading
The next step was no longer about integrating the emulator with the operating system. I had a window, graphics, sound, and a controller. Now I needed to go back inside the emulator itself and start adding features.
The real question, however, wasn’t simply:
Can it play more games?
It was:
Is this architecture good enough to keep extending the emulator?
There was only one way to find out: start changing everything.
My test list looked something like this:
- Add a dependency injection framework
- Add basic logging
- Implement new mappers to support more games
- Add support for iNES 2.0 ROMs
- Improve sound support
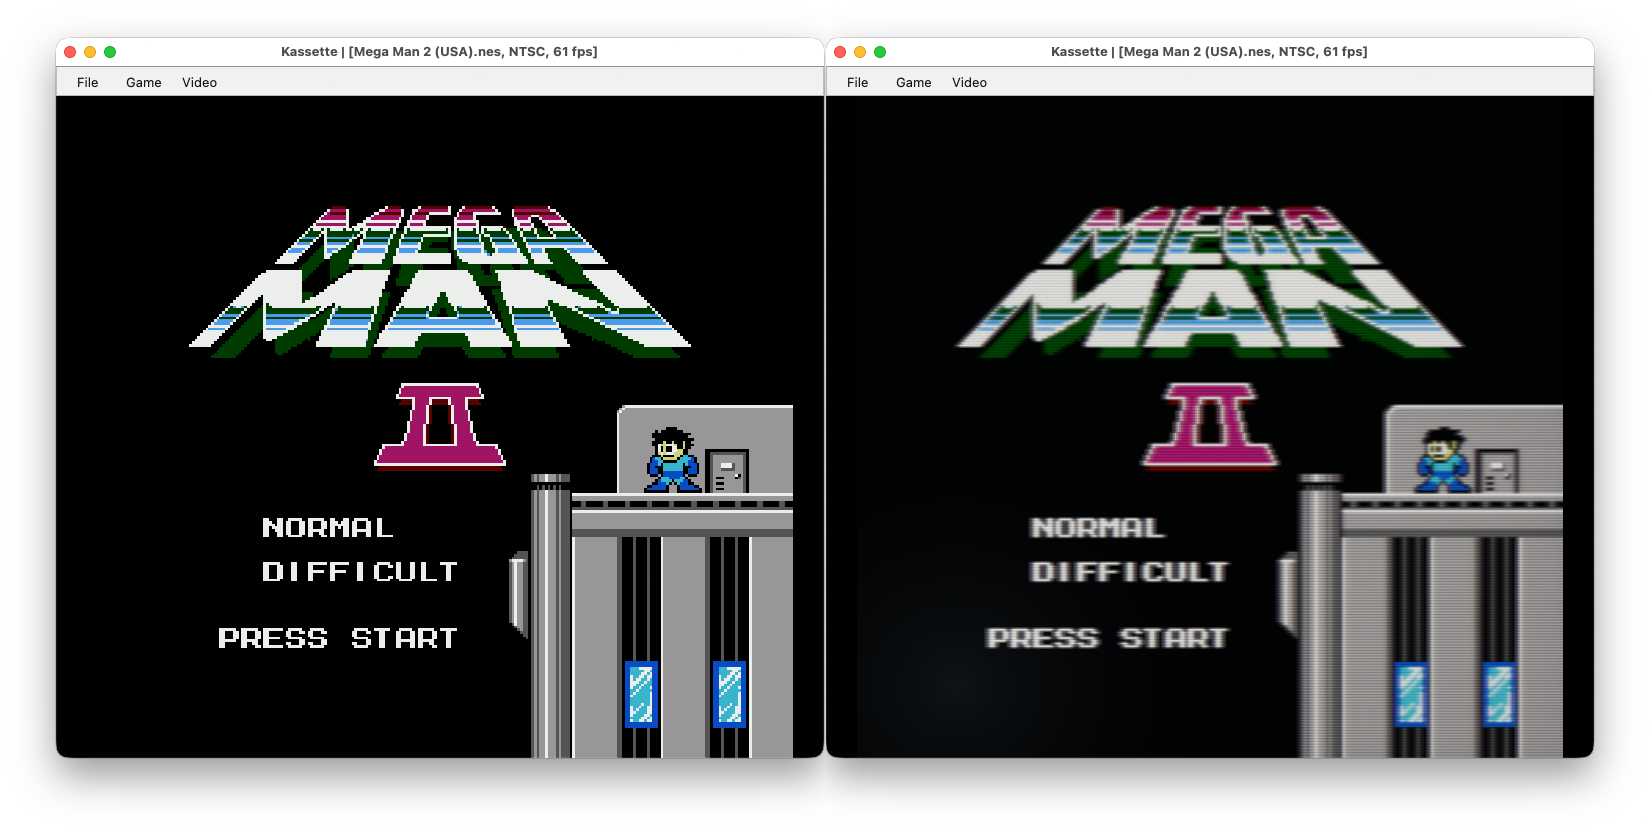
- Add a post-processing CRT effect
- Add a menu bar to load ROMs and toggle the CRT effect
Together, these changes would touch almost every part of the project, which made them a fairly good stress test for the architecture.
As Dependency Injection I initially introduced kotlin-inject, although I later moved the project to Metro.
For logging, I started with Log4j and eventually replaced it with Kermit.
The cartridge model, ROM parsing, and mapper implementations had already been abstracted and isolated reasonably well. Mappers are one of the areas where an NES emulator can quickly become more complicated, so being able to add Mapper 2, 3 and 4 was really easy and therefore satisfying.
The audio system was similarly self-contained. Fixing a few bugs and improving sound support didn’t require changes to unrelated parts of the emulator.
The same was true for the CRT effect. It was implemented as an OpenGL shader loaded at runtime, so it could be added as a post-processing step without interfering with the rendering pipeline itself.
So far, the architecture was holding together until…
The Menu Bar domino Link to heading
Adding a simple menu bar sounded like the easiest feature on the list.
All I wanted was File → Open… to load a game and View → Enable CRT Effect to toggle the shader. But devil’s in details: I completely forgot that the entire window was owned by LWJGL, and anything displayed inside it had to be rendered through OpenGL. I couldn’t simply attach a native menu bar and carry on with my day.
I had a few options:
- Implement an entire UI toolkit in raw OpenGL
- Use Java’s built-in AWT toolkit
- Use Compose
- Use SWT
The first option was obviously out of scope. I wanted to add a menu bar, not accidentally start another open-source project.
AWT comes with the JVM, which made it tempting, but it is fairly limited as a UI toolkit.
I use Compose every day, so that felt like the most natural choice. Once I’ve completed the implementation I realised that Compose and my existing OpenGL context could not simply coexist inside the same window. ☠️
So I asked the LLM to rewrite the window using SWT which is what knocked over the first domino.
SWT provides its own OpenGL integration, so the LLM replaced the existing LWJGL window instead of trying to keep the two systems together.
Once LWJGL no longer owned the window, keyboard input stopped working as before. Every key had to be remapped through SWT’s event system.
Then the next domino fell: the controller. The controller had been handled through GLFW, which was now awkwardly living beside a window managed by SWT.
The LLM started trying to glue the two worlds together and then it tried to glue the glue: it added checks, fallbacks, exceptions, wrappers, try/catch blocks, and increasingly creative layers of defensive code. Every fix introduced another problem, and every new problem produced even more code.
What had started as a simple menu bar was now dismantling the entire project. I had thought the emulator was finally coming together. Instead, one small UI change had triggered a chain reaction through the window, keyboard, controller, and eventually my entire token budget.
At that point I ran out of tokens, so I had no choice but to solve it myself. I reverted dozens of generated changes and started again with this very simple snippet run at the app’s boot:
GLFWErrorCallback.createPrint(System.err).set()
if (!glfwInit()) {
    throw IllegalStateException(”-- controller was requested, but GLFW initialization failed”)
}
joystick = (GLFW_JOYSTICK_1..GLFW_JOYSTICK_LAST).firstOrNull { glfwJoystickPresent(it) }
    ?: throw IllegalStateException(”-- controller was requested, but GLFW did not detect a connected controller”)
val mappedGamepad = MemoryStack.stackPush().use { stack ->
    glfwUpdateGamepadMappings(stack.UTF8(MACOS_XBOX_360_MAPPING))
    glfwJoystickIsGamepad(joystick)
}
if (!mappedGamepad) {
    throw IllegalStateException(
        “-- controller was requested, but GLFW did not detect a mapped gamepad for ‘${ glfwGetJoystickName(joystick) }’”,
    )
}
log.info(” Using mapped gamepad : {}”, glfwGetGamepadName(joystick))
I fully expected it to fail. Instead, it worked on the first try.
Final Considerations Link to heading
By the end of this experiment, Kassette could run on the major desktop operating systems, load ROMs from a menu, render video with a CRT effect, produce recognisable audio, and support both keyboard and USB controllers.
It was still rough around the edges, but it was already far beyond what I thought I could build.
Software Engineering Is Not Dead Yet Link to heading
LLMs are very good at producing code. That does not mean they are good at producing maintainable software.
In this project, I could afford broken audio, incomplete compatibility, and the occasional bizarre implementation.
Kassette is a free proof of concept: the worst possible outcome is that someone tries it, thinks it is rubbish, and closes it.
Professional software is different: a small bug can cost money, damage trust, or make users wonder what else might be wrong.
There is also something important that happens while writing code: you discover new possibilities. As you implement a feature, you make choices, notice constraints, and start thinking about what could come next. That process often leads to better abstractions, more flexible designs, and ideas you would never have written down in the original requirements.
An LLM can generate a mapper, a parser, or an input handler, but someone still needs to recognise those opportunities and decide which ones are worth preparing for. That requires experience, context, and judgment. LLMs make writing code faster. They do not remove the need to understand what the code is doing, why it was designed that way, or how it could evolve later.
Kassette exists because LLMs helped me move much faster than I could have on my own. It also works because, every now and then, I know when to ignore them. 😉
- Source code: GitHub
- Play online: WebAssembly emulator